
How to Win in Base Wars
Facility control, CTF at HQ, vehicle timing, and team habits that flip losing lobbies.
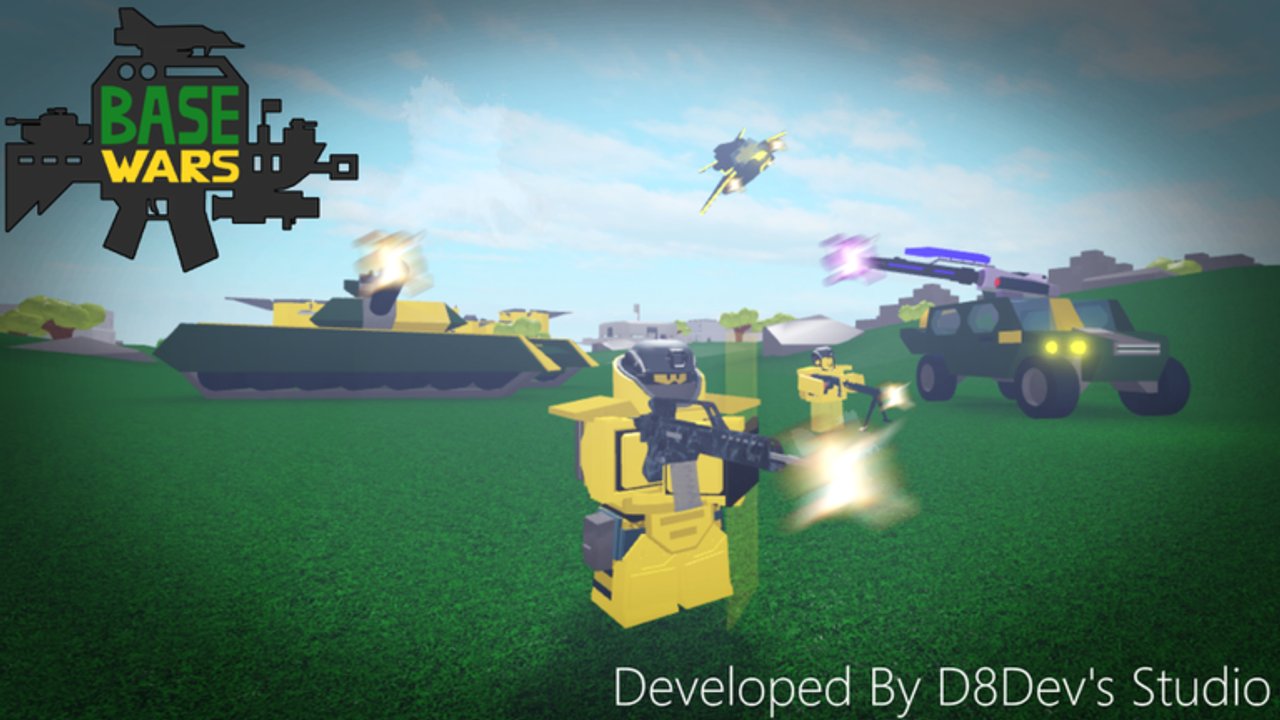
Winning is a team score, not a highlight reel
Base Wars Skirmish rounds reward the side that controls space when the timer ends. Personal ace clips feel great, but facilities, HQ flags, and denied vehicles decide more matches than a single montage. This guide turns the beginner loop from Getting Started into concrete win conditions for green vs yellow lobbies—and for three-team chaos on Peak when blue joins.
If you only need the Hunt clear, pair this page with Hunt Badge. If your aim bindings still slip, fix that on Controls before blaming matchmaking.
Know the win conditions
Typical public Skirmishes combine:
- Facility capture — hold points on the map to drain enemy pressure and farm contribution.
- CTF at HQ — steal the enemy flag and return / deliver per map rules to swing momentum.
- Attrition — kills matter because dead defenders cannot contest pads.
When the clock hits zero, the fuller scoreboard and map state favor the coordinated team. Playing only for K/D while ignoring a flipped home facility is how “I went positive” still loses.
Phase plan for a five-minute style round
Opening (first minute)
- Leave spawn with a purpose: nearest facility or Battle Tank / jet pad—not a random mid stroll.
- Call which point you are taking in chat if teammates seem lost.
- Spot enemy air early; assign someone to AA or a fighter.
Mid round
- Trade lives for time on point, not for ego peeks around the same corner.
- After a capture, leave one defender and rotate—do not fistfight forever on a secured pad while another facility burns.
- Spend Battle Score between lives only if the unlock immediately helps this match (rockets vs armor spam, for example).
Closing minute
- Stack the highest-value objective. If you lead, stall and defend. If you trail, force a flag play or a multi-vehicle push.
- Stop solo flanking when your team needs bodies on the contested pad.
Facility play that sticks
Facilities are the heartbeat of Base Wars map control:
- Approach from cover—open runways are free kills for scoped rifles.
- Clear the interior before standing on the capture volume.
- Watch stairs and vehicle approaches; most flips die to one unnoticed tank shell.
- Restock ammo after the flip. Holding a point dry gets you overrun.
- Ping or type the next target so the squad does not bounce randomly.
Use Maps until routes are muscle memory on The Land, Peak, and other layouts.
Flag play (CTF at HQ)
Flag rounds create panic—use that.
- On offense: Soften defenders with utility or vehicle fire, grab when two teammates can escort, and take unpredictable return paths.
- On defense: One player watches the flag desk while others hold outer chokes. Do not all chase a decoy.
- As carrier: Hug cover, avoid jet magnets in open fields, and trust escorts to shoot—your job is distance.
A single clean flag swing can erase a kill deficit. A reckless grab with zero escort donates the round.
Vehicles as win tools, not toys
Tanks
- Spawn tanks for breakthroughs into fortified facilities.
- The Battle Tank shines when Hunt players or pub stomps need fast multi-kills—drive with infantry behind you, not alone into three rockets.
- Bail if the hull is critical and a repair pad is closer than the fight.
Jets (Vortex, Shadow, Tracker, and similar)
- Deny enemy armor and punish clumped infantry on pads.
- Use speed (Z) to relocate; hover (X) only when AA is dead or distracted.
- One disciplined jet pilot beats three beginners who crash on takeoff.
Helis, ships, subs, MAC Tank
- Bring them when the map geometry supports them—water maps without ships concede coastline.
- Super-heavy assets need follow-up. A lonely MAC Tank still melts under focused rockets and air.
Compare roles on the Vehicles Tier List and infantry counters on the Weapons Tier List.
Team roles that actually help
You do not need formal LFGs. Informal roles win pubs:
- Anchor — holds the just-captured facility.
- Flex — rotates to the hottest fight with rockets.
- Air / armor — specialized vehicle seats.
- Support — repairs, ammo awareness, and calling flag status.
Stacking five snipers on a ridge looks cool until the enemy tank drives into your empty HQ.
Green, yellow, and blue (Peak)
Two-team maps are readable: push one side, defend the other. On Peak, three teams mean:
- Never overextend into a 1v1v1 meatgrinder without an exit.
- Let enemy teams collide, then third-party the winner while they reload.
- Watch both flanks—blue often arrives from the angle yellow forgot.
Comms matter more with three colors. Short calls beat essays.
Loadouts for winning, not collecting
Bring what the lobby demands:
- Anti-armor rockets when tanks free-farm.
- Close-range options for facility interiors.
- Mid-range rifles for lane holds.
- Armor that lets you tank one extra peek on point.
Holofoil flex guns and Rebel cosmetics do not win rounds if you cannot hit shots. Unlock with intent via Battle Score, and verify patches on Updates.
Mindset fixes for losing streaks
- Stop re-peeking the angle that already killed you twice.
- Play for the next capture, not revenge.
- If the lobby is hopeless during Hunt, take the documented loss credit and move on—see Hunt Badge.
- Review one death per round: was it aim, info, or objective greed?
Skip account-risking Scripts. Wins earned cleanly teach the next lobby; injected junk does not.
Practice checklist
- Warm up ADS transitions from the controls guide.
- Play one round only capturing—ignore K/D.
- Play one round as dedicated vehicle denier.
- Play one round as flag escort or desk defender.
- Review which role raised the team scoreboard most.
Broader systems and history sit on Wiki. Community context is on Players. Tools and layout helpers live under Tools. Promo Codes will not buy you map sense.
Win conditions are public. The team that reads them—and boards the right vehicle at the right minute—climbs out of forever-silver pubs.
Frequently Asked Questions
Quick answers for Base Wars codes, VIP, loadouts, and combat.
What matters more in Base Wars—kills or captures?
Both matter, but facilities and flag swings decide more Skirmishes than raw K/D. Positive stats on a lost map still count as a loss.
When should I spawn a tank or jet?
Spawn tanks to break fortified facilities with infantry support. Spawn jets when enemy armor or clustered pads need denial—and when you can keep the airframe alive.
How do three-team Peak matches change strategy?
Avoid fair 1v1v1s. Let other teams fight, then third-party, and always watch a second flank because blue rotations punish tunnel vision.
How do I help if I am bad at aiming?
Play anchor on captured facilities, repair vehicles, call flag status, and use simple close-range guns inside buildings while you practice controls.
Does Uber VIP guarantee wins?
No. Uber gear helps, but teams that capture and coordinate still beat solo VIP players who ignore objectives.
Where should I go next after this guide?
Refine unlocks with the Battle Score guide, compare kits on the tier lists, and use Maps plus Updates to stay current on layouts and patches.